Philippines Wedding Guest Management Seat Plan Guide
By WedPlanner Team
Learn how to manage arrivals and seating with a Philippines wedding guest management seat plan that matches real guest behavior—using smart seat planning, clear signage, reliable RSVP tracking, and smoother check-ins.
Philippines wedding guest management seat plan: arrival strategy
Quick Answer: A successful Philippines wedding guest management seat plan is built around how guests actually arrive, who they come with, and how you’ll verify them quickly. Combine a behavior-based seat map, simple signage, clean RSVP tracking, and a timed check-in flow so guests find their seats fast—even with late arrivals and changes.
Introduction
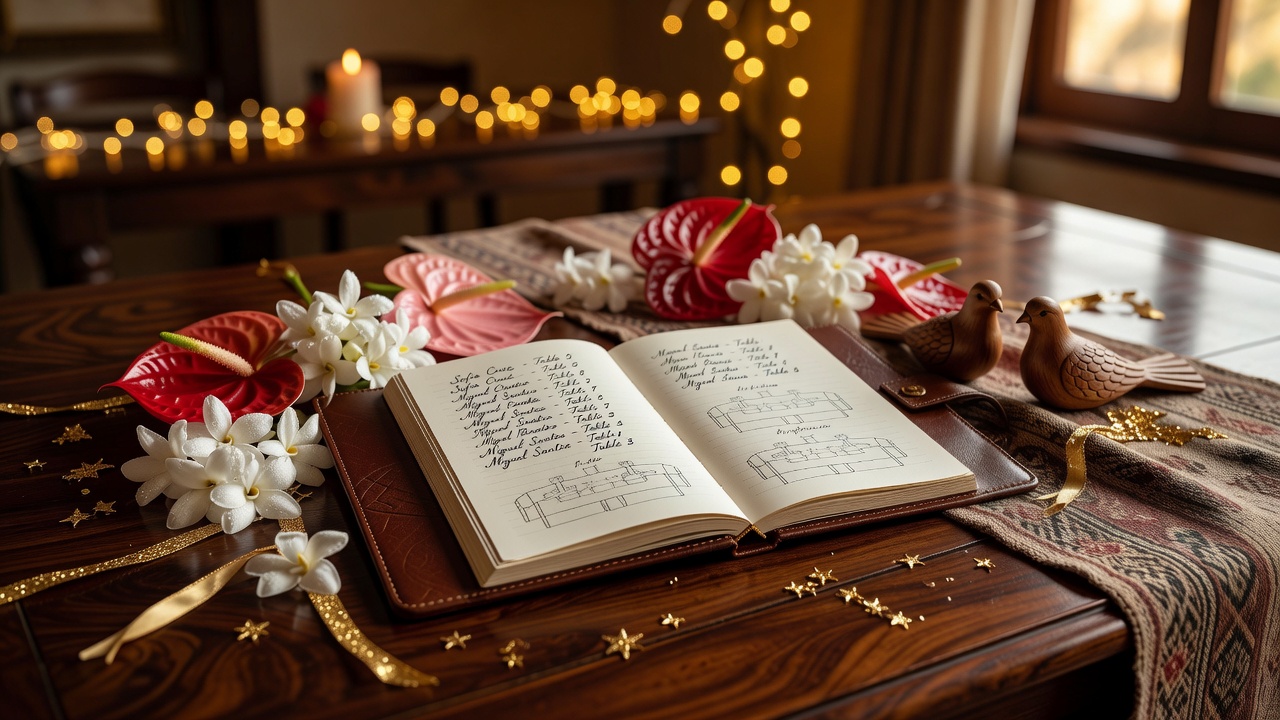
If you’ve ever watched guests wander at the entrance, ask “Where am I seated?”, or wait while someone searches a paper list, you already know the problem: seating and arrivals don’t fail because of bad intentions—they fail because the plan doesn’t match real behavior.
This guide shows a practical, Philippines-friendly system for guest flow: seat planning that considers family groups and sponsors, signage that works for both church and reception venues, RSVP tracking that stays accurate, and check-ins that reduce stress for both guests and your team.
What makes a Philippines wedding guest management seat plan work with real guest behavior?
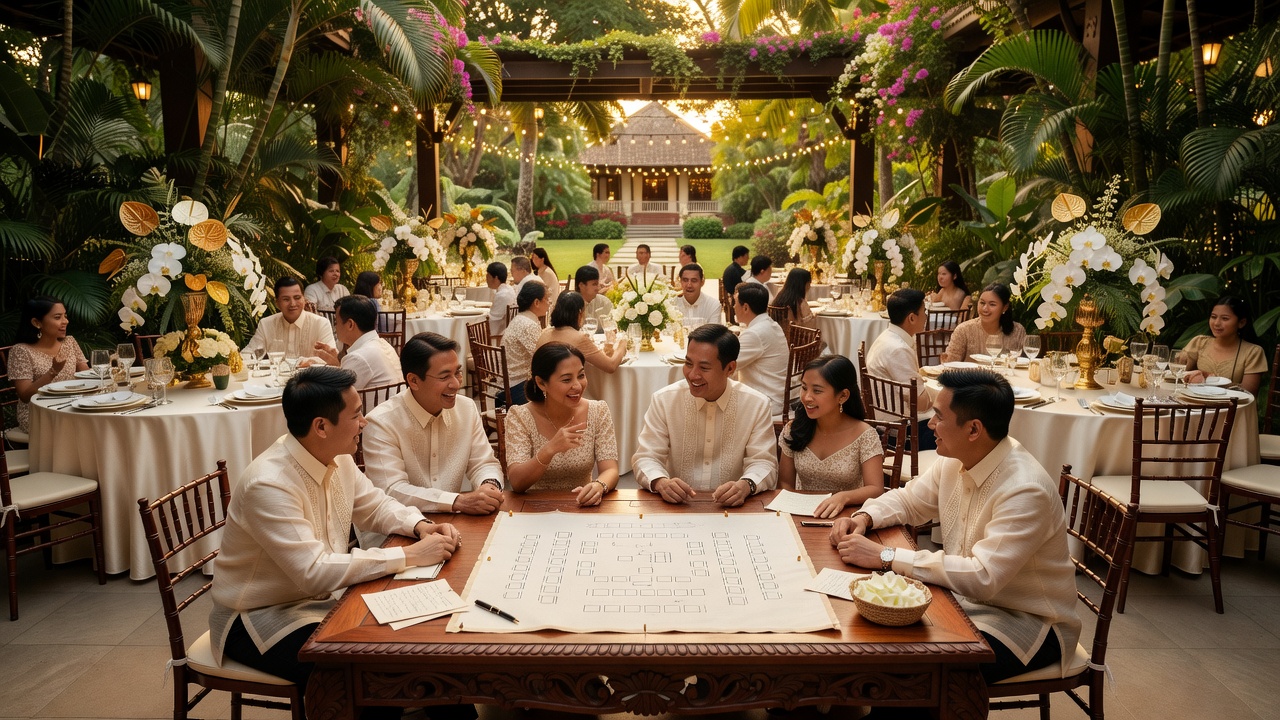
A guest-first seat plan assumes the messy parts of the day: some arrive late, some come in clusters (families/sponsors), some bring extra people with them, and some don’t check their invitations carefully. When you map seats around how groups move and where staff can confirm names quickly, the whole event feels organized.
Think “flow,” not “only seats”
Seat planning is usually treated like a static diagram. In practice, it’s a routing system. Your plan should help ushers, coordinators, and guests answer three questions instantly:
- Where do we go when we arrive?
- Who am I? (name confirmation + any access rules)
- Where do we sit?
How do you build a seat plan that’s easy to manage during the wedding?
Start with data you can control (final guest list, table counts, venue layout), then add “behavior rules” (groups, arrival timing, last-minute changes). The result is a seat map that’s not just pretty—it’s operationally usable.
Step-by-step seat plan setup (Philippines context)
- Collect your “final” guest list—then plan for updates. Use RSVP names exactly as printed on invitations. Create a “Change Log” sheet for additions, cancellations, and corrections.
- Group guests by natural arrival clusters. In many Philippines weddings, guests travel in family or circle groups and often arrive together. Place these groups near each other where possible.
- Seat sponsors and key roles with clear proximity rules. Many weddings involve sponsors (ninongs/ninangs), principal sponsors, and close family. Put them in predictable zones so ushers don’t need to interpret complex instructions during rush time.
- Use a “Seat Buffer” for no-shows and day-of adds. If you expect a few late changes (it’s normal), leave a small number of flexible seats per zone. This prevents chaos when the headcount shifts.
- Map seats by zone, not just by table number. For example: Front Reserved Zone, Family Zone A, Friends Zone, Table-Neighbor Zone. Zones align with how staff can manage guests fast.
- Create a printed and a digital version. Print for your check-in team. Keep a digital copy for quick adjustments (including a “last updated” timestamp).
A simple seating structure that reduces mistakes
Here’s a practical approach that works well when you have mixed family + friends seating:
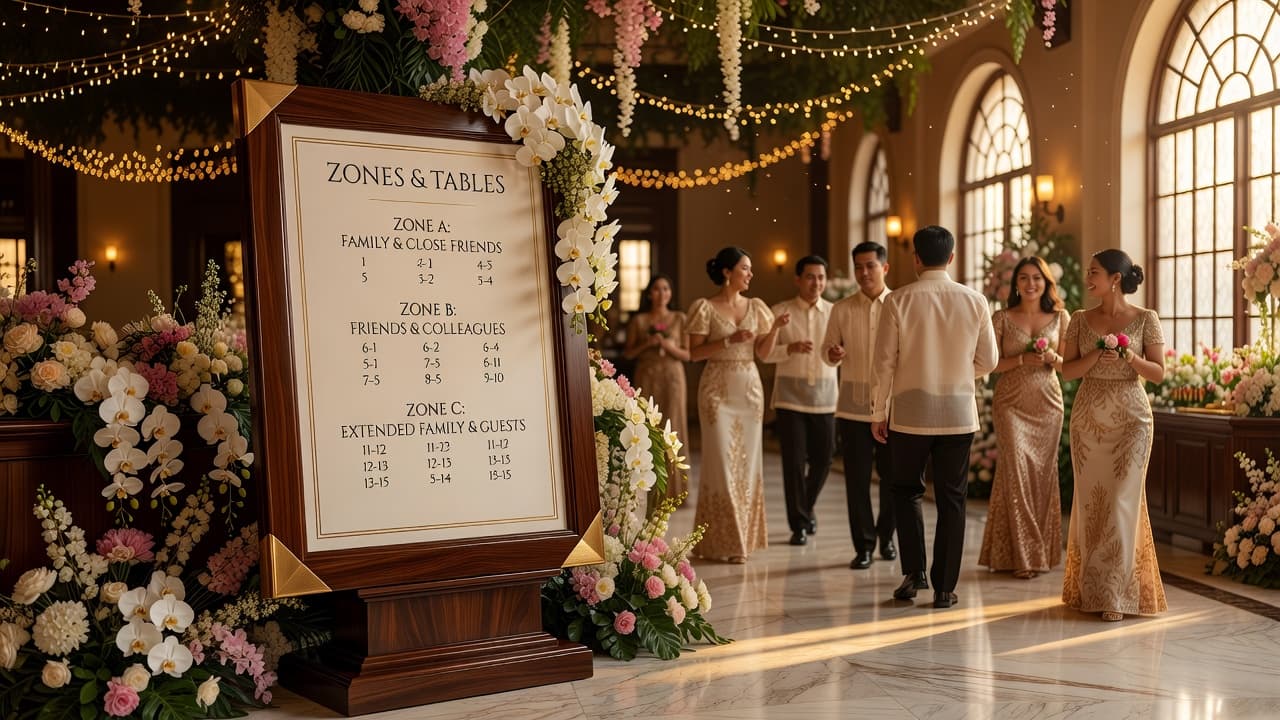
- Zone A: Immediate family + sponsors (easy to find, easy to confirm)
- Zone B: Extended family (clustered by surname or group)
- Zone C: Friends + coworkers (group by RSVP batch or connection)
- Zone D: Flex buffer seats (for last-minute adjustments)
Common Philippines wedding seat plan mistakes to avoid
- Listing only table numbers, not seat locations. If guests can’t find a seat quickly, they’ll stop and ask—causing congestion.
- Mixing too many unrelated groups on one side. Guests feel “placed randomly” and ushers spend time answering “why am I there?”
- No buffer for changes. When the RSVP count isn’t exact (it rarely is), you need fallback seats.
- Ignoring accessibility. Add seating options near the entrance/aisle if you have elderly guests, mobility needs, or caregivers.
How should wedding signage be designed for guest flow and check-in?
Good wedding signage is readable from 2–5 meters away and answers one job at a time: where to check in, which line to use, and where to go next. In the Philippines context, signage should also account for people arriving in groups, plus quick navigation for guests unfamiliar with the venue layout.
Signage checklist for a smooth arrival
- “Welcome / Check-In” sign placed right at the entry point.
- Two-line system: separate signboards like “RSVP Confirmed” and “For Verification / Changes.” This reduces back-and-forth.
- Zone direction signs: “Zone A / Zone B / Zone C” with arrows toward each area.
- Table/seat guide near the zone: a board that shows which tables belong to that zone (and optionally a QR link to the latest seat map).
- Reserved seats signage: “Sponsors / Principal Sponsors” and “Immediate Family” labels so staff can direct guests quickly.
- Accessibility cue: “PWD / Elderly Seating” (if applicable) placed near the correct entrance route.
Design tips that work in real venues
- Use large fonts + high contrast. Many guests will read signage quickly while walking.
- Use bilingual-friendly wording if your audience needs it. Many couples include Tagalog/English cues on printed signage.
- Avoid mixing too much info on one sign. If a sign has 20 lines, it becomes “a decoration” instead of a tool.
- Place signage at decision points. The best signs are at turns, entrances, and before long corridors.
Featured-snippet layout idea: “Where do I go?”
Consider a top-level board at check-in that mirrors guest questions:
- Step 1: Check in (find your name / verification line)
- Step 2: Go to Zone (A/B/C)
- Step 3: Find Table (or Seat)
How do you track RSVPs so your seat plan stays accurate?
RSVP tracking should be treated as a living database, not a one-time list. The goal is to reduce errors between invitation names, guest arrivals, and what’s printed on your seating chart—especially when cancellations, additions, and corrections happen.
RSVP tracking system (simple + reliable)
- Use one RSVP source of truth. Examples: an RSVP form link, email confirmation, or a message workflow. Decide your single “master” and keep everything in it.
- Standardize name formatting. Ask guests to submit “First Name + Last Name” consistently. For families with similar surnames, request relationship or spouse name (optional).
- Track headcount changes separately. “Updated number of guests” should be different from “Added guest” or “Name correction.”
- Create a status column. Suggested statuses: Confirmed, Unconfirmed, Added (day-of), Cancelled, Seat Assigned.
- Use a “seat assignment” checkbox. The moment a guest is matched to a table/seat, mark it. This prevents double assignment.
Operational rule for the wedding day
Assign one person (or team) to manage the final seat map updates. Others can help direct guests, but only the “seat plan owner” updates the sheet—so you don’t end up with conflicting versions.
Privacy note (quick and practical)
Guest lists include personal data. If you’re collecting names and contact details, follow applicable data privacy rules in the Philippines. Keep access limited to your wedding team and avoid publishing guest lists publicly.
External link opportunity: [External link: National Privacy Commission (Philippines) guidance on data privacy for personal information]
How do you run smoother guest check-ins and arrival coordination?
Design check-in like a mini process flow. When guests can be verified quickly (name + status) and redirected instantly (zone + table), lines shrink and confusion drops. For a Philippines wedding, the biggest win is separating “confirmed” vs “needs verification/changes.”
Build a check-in team workflow
- Check-in Station 1: RSVP Confirmed (fast line)
- Check-in Station 2: For Verification / Changes (slower line)
- Greeter / Usher: directs guests to the correct station and zone
- Seat Plan Owner: updates the sheet and answers “What table should we move them to?”
Arrival strategy: timing, lines, and navigation
- Set arrival windows by group. For example, family sponsors may arrive earlier than friends. Even a simple schedule helps staff prepare seats and signage.
- Stagger the busiest entry points. If you know buses/travels arrive around the same time, pre-assign an usher to handle the first wave.
- Prepare “last-minute scripts.” Example: “We’ll confirm your name and direct you to Zone B.” Short scripts prevent staff from improvising.
- Use a buffer for missing guests. If someone hasn’t arrived yet, hold a small number of seats so you don’t immediately run out.
Low-tech tools that still work great
- Printed alphabetized name sheets per station
- Colored folders for tables/zones
- Walkie-talkies or a group chat for your coordinator team
- QR codes that lead to the latest “seat map” page (optional)
External link opportunity: [External link: Google Forms or Sheets help guides for RSVP form + spreadsheet workflows]
What should your seat plan output include (print + digital)?
Your output should help different people do different jobs. Guests need clarity; ushers need routing; coordinators need accuracy and update speed.
Recommended deliverables
- Guest-facing board: Zone directions + table list (and any QR to a digital seat map)
- Usher-facing sheet: Alphabetized names with table/zone
- Coordinator sheet: Full seat assignment + status + change log
- Day-of update rule: “Last updated at HH:MM” to reduce confusion
How much does wedding guest management (seat plan + signage) typically cost?
Costs vary by the number of printed boards, size of the venue, and whether you hire coordinators. As a planning guide, budget for three categories: materials (printing, boards), staff time (usher/check-in coordination), and any tech setup (QR links, digital sheet access).
Budget ranges (practical planning, not quotes)
- Materials: signage boards/posters, printing, labels, tape/stands
- Staffing: ushers or paid wedding coordinators
- Optional tech: QR codes, simple web page hosting, or a digital checklist on tablets
Alternative approach: If you’re keeping costs low, prioritize check-in signage and alphabetized guest lists near the entrance. The most expensive prints are often the least urgent.
Alternative options if you don’t want assigned seating
Not every wedding needs a full assigned seat plan. If you want a lighter system, you can still manage arrivals and flow with zones and guidance.
Safer alternatives
- Zone seating (semi-assigned): Guests are assigned to a zone, not a specific table.
- Table hosts: Each table has a host/usher who confirms arrivals and directs guests.
- Open seating with a “priority route”: Sponsors/family get priority seating; everyone else follows signage.
Key Takeaways
- Use a Philippines wedding guest management seat plan built around real guest behavior: clusters, arrival patterns, and day-of changes.
- Design seating by zones so staff can route guests fast.
- Use signage that answers one question per sign: check-in, direction, and table/seat locating.
- Treat RSVP tracking as a living database with statuses and a clear update owner.
- Run check-in with separated lines: Confirmed vs Verification/Changes to reduce congestion.
Frequently Asked Questions
How many seating boards should we prepare for a typical Philippines wedding?
Prepare at least two: one check-in sign (where to verify/find names) and one zone/table guide (where to go next). If your venue is large or has multiple entrances, add a third directional sign at the first decision point to reduce walking confusion.
What do we do if guests add extra people at the entrance?
Have a verification station and a small seat buffer. Confirm the added guests against your change log, then assign them to available flexible seats within the same zone (or a designated buffer zone) so you don’t disrupt sponsored seating or priority family areas.
Should we alphabetize guest lists for check-in?
Yes—alphabetized lists speed up verification. Guests also tend to look for their surname quickly. For better flow, organize station sheets by role group (Confirmed/Verification) and include table/zone assignments beside names.
How do we handle late arrivals without ruining the seating plan?
Hold seats only in buffer areas. For priority zones (sponsors/immediate family), set stricter rules: either keep a limited number of seats or pre-assign a “late arrival seat option” within that zone. Communicate a simple process to your coordinators so everyone follows the same rule.
What’s the best way to update the seat plan the day of the wedding?
Assign one “seat plan owner” and use one source of truth (digital sheet + one printed update if needed). Add timestamps and a change log so ushers don’t rely on older papers. If possible, update during natural breaks rather than repeatedly during peak check-in.
How do we seat sponsors or ninongs/ninangs without confusion?
Create a dedicated zone or clearly marked seating area, and place their seats near predictable entry routes. Provide your ushers with a simple mapping (Zone + table). Your signage should also include a clear label like “Sponsors / Principal Sponsors.”
Can we use RSVP tracking via WhatsApp or social messages?
You can, but ensure you still consolidate into one master list. WhatsApp threads can become hard to audit if multiple people message separately. Use a standard naming format and log every update into your seat plan spreadsheet so your check-in team works from the same truth.
Do we need a full assigned seat plan for a church ceremony?
Not always, but assigned seating helps if the venue requires guest flow control or reserved sections (family, sponsors, program roles). If you skip assigned seating, use zones and priority routing for the groups that matter most, and still keep a confirmed list for verification at entry.
Conclusion
A wedding day feels calm when guests know what to do next. By building your Philippines wedding guest management seat plan around real guest behavior—then supporting it with clear signage, accurate RSVP tracking, and a disciplined check-in workflow—you reduce lines, prevent seat confusion, and protect the moments that matter.
CTA: If you want, share your venue layout (church vs reception, entrances, and approximate guest count). We can outline a zone map, signage wording, and a checklist your ushers can follow step-by-step—so your seat plan works in real time.