Philippines Marriage License Timeline Requirements
By WedPlanner Team
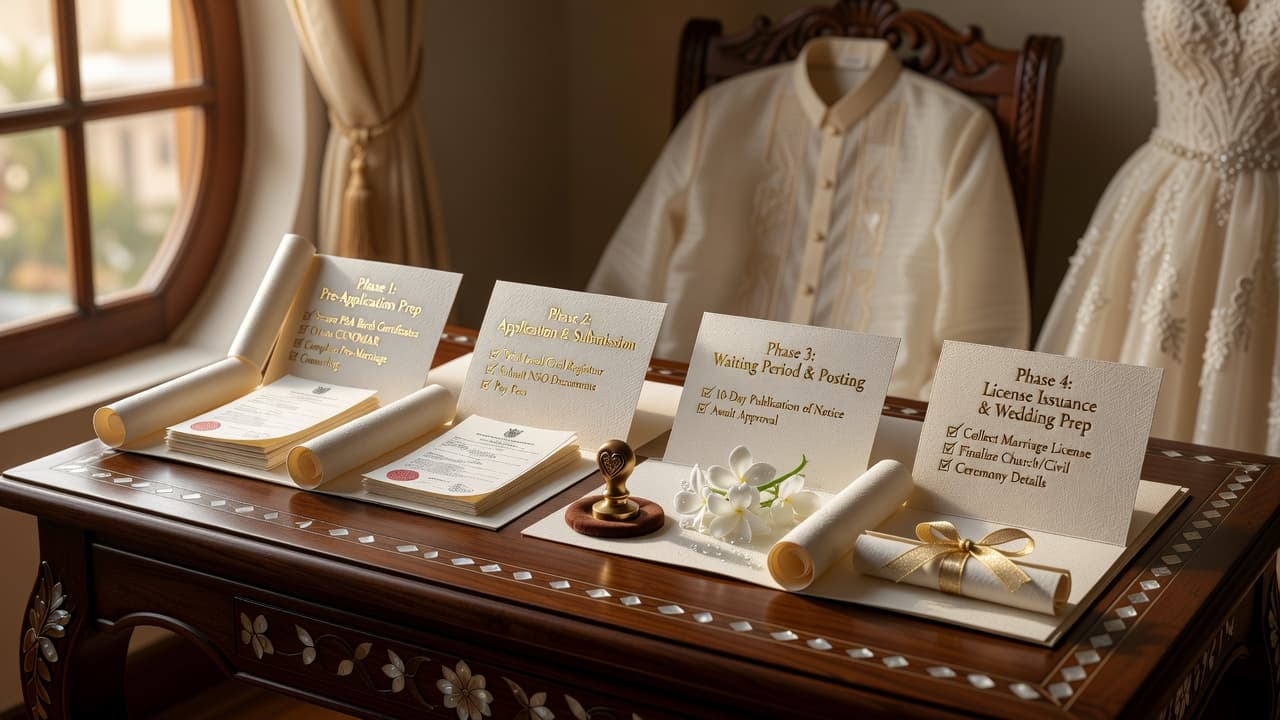
A smooth Philippine wedding often starts with a well-timed marriage license plan. This step-by-step guide shows a practical timeline, what to prepare at each stage, and how to avoid delays.
Philippines marriage license timeline requirements: Step-by-Step Guide
Quick Answer: To stay on schedule, start gathering PSA documents and IDs 3–6 months before your wedding. Apply at your Local Civil Registrar (LCR) about 2–3 months ahead, account for the posting/publication period, then receive and use the license within its validity window (typically 120 days) for your ceremony.
Introduction
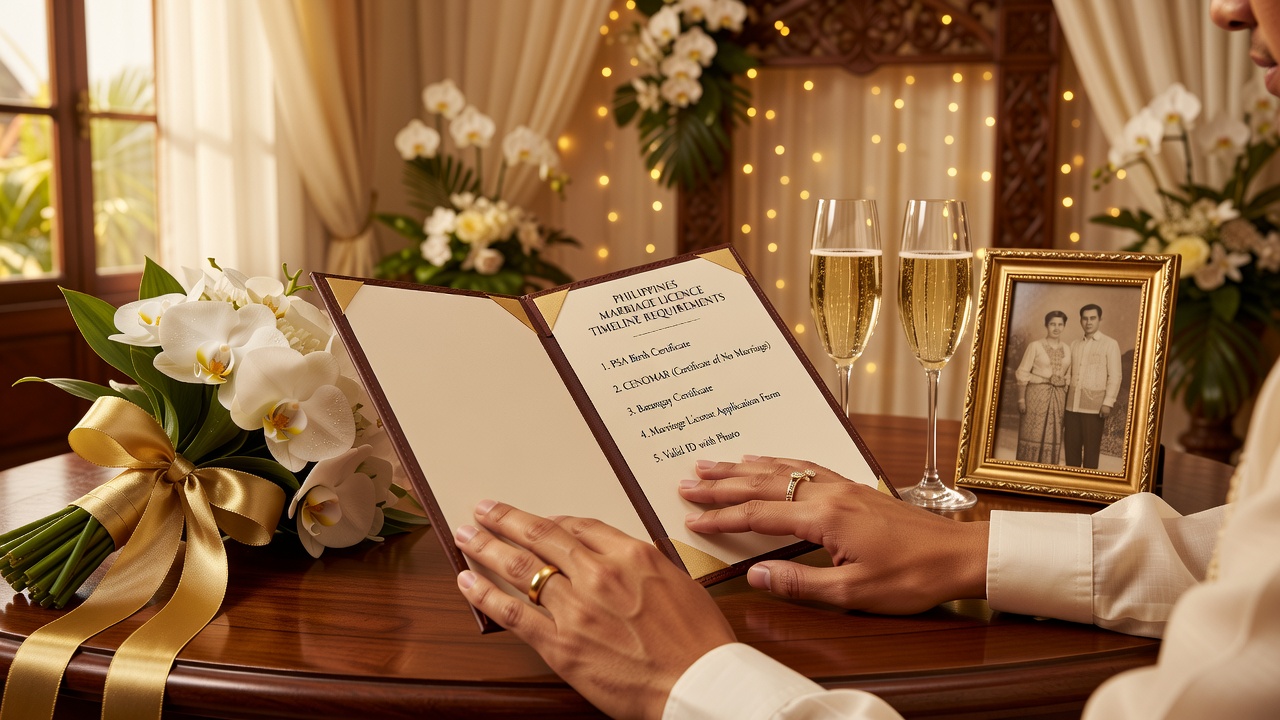
If you’re planning a Philippine wedding, the marriage license timeline can feel confusing—especially when different documents take different amounts of time to obtain. The good news: you can protect your wedding date by building a clear plan around the steps your Local Civil Registrar (LCR) follows, then preparing each requirement in the right order.
This guide focuses on one goal: helping you map out the Philippines marriage license timeline requirements so you know what to do, when to do it, and what to prepare at every stage—without last-minute panic.
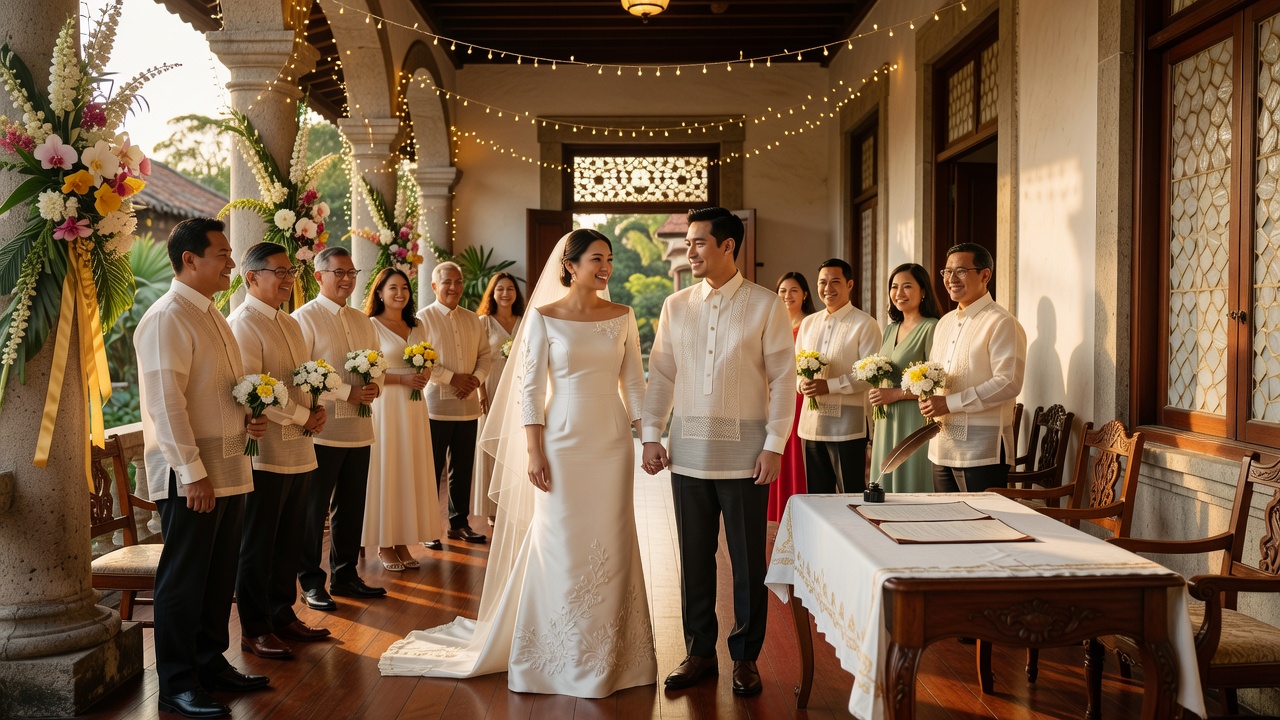
What “marriage license timeline” really means in the Philippines
A marriage license timeline is the sequence of (1) document preparation, (2) application at your LCR, (3) posting/publication period (where required), and (4) issuance of the marriage license. Your final timing must also consider the license’s validity period, which is commonly 120 days from issuance—so your wedding date should fall inside that window.
Key definitions (simple and searchable)
- LCR (Local Civil Registrar): The office where you apply for your marriage license.
- PSA documents: Civil registry records issued/managed by the Philippine Statistics Authority.
- CENOMAR: “Certificate of No Marriage” from PSA for those who have never been married (requirements can vary by case).
- Posting/publication period: A waiting period involving publication or posting of the notice of intended marriage, depending on LCR rules and case details.
Featured snippet: the fastest way to avoid delays
Start early, then apply in the right window. Most delays happen because PSA documents, CENOMAR, or court documents aren’t ready yet. Build your schedule backward from your wedding date, and aim to finish applications before the posting/publication window begins.
At-a-glance timeline (use this like a countdown planner)
Because LCR processing times vary by city/municipality and season, use this as a planning framework. For exact schedules, confirm with your LCR.
| Timeline relative to wedding | What to do | Main outputs |
|---|---|---|
| 6–3 months before | Gather PSA documents, IDs, and case-specific papers | Birth certificates, CENOMAR (if applicable), IDs, supporting documents |
| 3–2 months before | Complete pre-marriage requirements (e.g., counseling/seminar, medical exam if required locally) | Certificates/attachments your LCR requests |
| 2–1 months before | File marriage license application with your LCR | Application receipt, assigned schedule/posting start |
| Posting/publication window (often around ~10 days) | Wait for the notice period to complete, respond to follow-up requests | Compliance completed; watch for document corrections |
| After issuance (validity typically 120 days) | Schedule the ceremony date within the license validity | Marriage license for the wedding |
Step-by-step timeline you can follow (with checklists)
Below is a practical timeline broken into phases. Each phase includes a preparation checklist so you always know what’s “done” vs. still “pending.”
Phase 1: 6–3 months before the wedding (document discovery + ordering)
This phase prevents the most common failure: applying with incomplete or unready PSA documents. Your goal is to know your exact case type (never married, previously married, widow/widower, annulment-related, etc.) so you gather the correct papers.
Preparation checklist (Phase 1)
- Confirm your LCR rules: Go to your LCR’s requirements page (or call) and ask what they need for your case type.
- Secure PSA birth certificates for both parties.
- Get CENOMAR (if applicable): Usually required if you’ve never been married.
- Prepare valid government IDs (passport/driver’s license/UMID/etc.).
- If previously married: Prepare PSA marriage certificate with annotations, and supporting documents for annulment/legally ending a prior marriage (as required).
- If widow/widower: Prepare PSA death certificate and any other docs your LCR requests.
- If either party is under parental age requirements: Gather parental consent and/or court-related permissions if applicable (ask your LCR early).
Practical example: If your wedding is on January 20, start ordering PSA documents between July and September. That gives you time if a reprint, annotation, or clarification is needed.
Phase 2: 3–2 months before the wedding (pre-marriage requirements + review)
After you have core civil registry documents, focus on any required counseling/seminar and medical-related requirements that your LCR or local rules request. This is also the phase where you double-check your entire packet—because a small missing document can reset your timeline.
Preparation checklist (Phase 2)
- Complete counseling/seminar requirements (commonly required in practice; confirm details with your LCR).
- Schedule medical exam if required (some LGUs require medical certificates; some require particular formats).
- Organize a “single folder” packet: Put everything in one order you can quickly submit.
- Review names and spelling: Make sure PSA records match the names on IDs (including middle initials where applicable).
- Prepare for local attachments: Some LCRs ask for barangay certification or residency-related documentation—confirm and collect early.
Pro tip: Bring an extra photocopy/scan for each key document (especially PSA papers). Many delays are administrative, not legal.
Phase 3: 2–1 months before the wedding (apply at the LCR)
Now you file your marriage license application. Your job here is to submit correctly and respond fast to any follow-up. If your LCR requests additional documents, you want enough time left to comply.
Preparation checklist (Phase 3)
- File the application with your complete packet.
- Ask for an application reference/receipt and note your expected follow-up schedule.
- Confirm posting/publication start dates if your LCR provides a timeline.
- Bring originals + required copies (LCRs commonly verify originals).
- Confirm fee structure and payment method (cash/online where available).
What to expect after filing: Your application typically goes through verification, then enters the posting/publication period (where required). Avoid assuming “it’s automatic”—follow up if your LCR does not contact you promptly.
Phase 4: Posting/publication period (often ~10 days, but confirm locally)
This is the waiting stage. Your timeline risk here comes from missing items discovered after filing or corrections needed during verification. The good strategy: stay responsive and keep your documents ready to revise.
Preparation checklist (Phase 4)
- Monitor LCR instructions: If they call/email you for corrections, act immediately.
- Keep your ceremony target date flexible: Don’t book a “hard no-change” ceremony date until your license issuance is confirmed (if you can avoid it).
- Prepare backups: If the LCR requires updated documents, know which PSA requests you can complete quickly.
Phase 5: Issuance + wedding within the validity window
Once your marriage license is issued, the key planning action is straightforward: schedule and hold your wedding ceremony before the license expires. In many cases, the validity is 120 days, but always confirm the exact validity dates printed on your license.
Preparation checklist (Phase 5)
- Confirm the validity dates on the license.
- Plan the ceremony date inside the validity window (count days carefully).
- Coordinate with your officiant/venue so everyone knows the license timeline.
- Keep the license safe and bring it to the ceremony per your officiant’s requirements.
Marriage license timeline requirements checklist (copy-and-save)
If you want a single checklist you can reuse for planning, use this as your master list. Your exact required documents depend on your situation—so treat this as a structured starting point, not a substitute for your LCR’s posted requirements.
Master checklist by category
For both parties
- PSA birth certificate(s)
- Valid government ID(s)
- Application forms (provided/required by LCR)
- Any LCR-required supporting documents (residency/barangay certifications, etc.)
Usually required for never-married couples
- CENOMAR (PSA certificate of no marriage) for each applicable party
Usually required for previously married parties
- PSA marriage certificate with annotations (as applicable)
- Documents showing legal status changes (annulment/court-related final judgments, etc. as required)
- Additional annotations per LCR instructions
Common pre-marriage requirements (confirm with your LCR)
- Marriage counseling/guidance certificate
- Medical exam certificate(s)
- Other local attachments or forms
Costs to budget (and how to avoid surprises)
Fees can vary widely by LGU and by the specific documents your LCR requires. Instead of pretending there’s one exact number, budget using categories:
- LCR processing fees: Marriage license application fees and administrative charges.
- Document and PSA-related costs: PSA certificates (and potential reprints).
- Medical exam: Clinic charges and certificate issuance.
- Counseling/seminar: Workshop or certificate fees (if locally required).
- Posting/publication-related costs: If your LCR requires newspaper publication, include that budget.
Practical approach: Set a “buffer” amount (for example, 10–20% above your best estimate). It covers reprints, transportation, and last-minute clarifications.
Common mistakes that delay issuance (and how to prevent them)
- Applying too late without accounting for PSA processing time. Fix: start 3–6 months out, and don’t wait for the last “perfect moment.”
- Submitting mismatched names/initials across documents. Fix: verify PSA spelling vs. IDs before filing.
- Assuming “one-size-fits-all” requirements. Fix: confirm your case type with your LCR (never married vs. previously married vs. special circumstances).
- Forgetting the validity window. Fix: after issuance, double-check the printed expiration dates and schedule your ceremony inside that range.
- Not responding quickly to LCR follow-ups. Fix: keep your documents accessible and set a response routine within 24–48 hours.
- Booking key ceremony items too rigidly. Fix: if possible, keep venue/officiant options flexible until license issuance is confirmed.
How to create your personal “license timeline” (a quick worksheet)
If you want a schedule you can actually use, write these down:
- Your wedding date: __________
- Back up for issuance: Aim to have your license issued at least 1–4 weeks before the wedding (buffer depends on your risk tolerance and LCR responsiveness).
- Plan application date: Aim to file 2–3 months before (or earlier if you anticipate PSA delays).
- Plan PSA/case documents: Start 3–6 months out.
- Track the posting/publication window: Ask your LCR for start/end timing when possible.
Why this matters: Marriage license timelines aren’t only about “waiting.” They include verification and corrections, and those are exactly what buffers prevent.
Are there alternatives if you’re short on time?
If you’re already close to your target wedding date, your options are limited because the license process is a legal requirement. Still, you can reduce risk:
- Reduce document uncertainty: Immediately request PSA certificates and confirm your exact case documents.
- Confirm LCR capacity: Ask whether your LCR can accommodate submission or if you need to schedule a filing appointment.
- Plan for issuance risk: If the license may not be ready before your preferred date, consider adjusting the ceremony date to remain inside the license validity period.
When to seek professional help: If your situation involves court processes, complex prior marriage documentation, or unusual residency issues, consider consulting a licensed professional (e.g., a lawyer familiar with Philippine family law) to avoid avoidable errors.
Key Takeaways
- Plan your Philippines marriage license timeline requirements backwards from your wedding date.
- Start PSA documents and IDs 3–6 months ahead to handle reprints and corrections.
- Apply at your Local Civil Registrar about 2–3 months before the wedding (adjust for your LCR’s pacing).
- Account for the posting/publication period and verification steps—these are where delays happen.
- After issuance, schedule the ceremony within the license’s validity window (commonly 120 days) and confirm dates on the license.
Frequently Asked Questions
How early should we start applying for a marriage license in the Philippines?
Most couples should begin 3–6 months before their wedding. That window helps you complete PSA documents, CENOMAR (if applicable), ID verification, and any counseling/medical certificates if required locally. Starting early reduces the chance of late corrections resetting your timeline.
What documents are usually required for a first-time (never-married) couple?
Commonly, LCRs require PSA birth certificates, valid government IDs, and a PSA Certificate of No Marriage (CENOMAR) for each applicable party. You may also need locally requested attachments like residency-related documents. Always confirm with your specific LCR since requirements can vary.
Do we need to get CENOMAR if one partner was previously married?
It depends on your case and the LCR’s interpretation of your documents. Previously married couples often need PSA marriage records with annotations and proof of the legal status change (e.g., annulment-related documents). Ask your LCR directly so you don’t waste time ordering the wrong certificate.
How long does the marriage license process take?
Processing time varies by city/municipality and season. A big factor is the posting/publication window (often around 10 days) plus verification and any document corrections. Planning 2–3 months between application and wedding provides a safer buffer than planning only a few weeks.
What happens if our marriage license expires before the wedding?
If your license expires, you can’t use it for your ceremony. You may need to renew or reapply depending on your situation and LCR instructions. That’s why it’s important to schedule your wedding date within the license validity period and confirm the exact validity dates printed on the license.
Can we apply in one city and get married in another?
Often, you apply at a Local Civil Registrar based on jurisdiction/residency rules and then conduct the wedding ceremony per your officiant’s and venue’s scheduling. Still, requirements and validity logistics follow LCR rules—so confirm how your LCR handles jurisdiction and ceremony location.
Is the marriage counseling or seminar certificate always required?
In practice, many LCRs require proof of marriage counseling or guidance based on family law requirements and local implementation. Since enforcement and documentation formats can differ by LGU, confirm the exact seminar/provider requirements with your LCR before you schedule.
How much should we budget for the marriage license?
Fees depend on your LGU and which documents/services you need. Budget categories include LCR fees, PSA/document costs, medical exam, seminar/counseling certificates, and possibly posting/publication costs. Use a buffer (often 10–20% above your estimate) to cover reprints and administrative follow-ups.
What are the most common reasons marriage licenses get delayed?
The most frequent causes are incomplete paperwork, PSA/annotation gaps, mismatched names between documents, and slow responses to LCR follow-ups. Couples can prevent delays by starting early, organizing documents in a consistent order, and confirming spelling and case-specific requirements before filing.
Conclusion
A well-timed marriage license plan is one of the simplest ways to protect your wedding date in the Philippines. If you follow this Philippines marriage license timeline requirements guide—start early, apply with complete documents, plan for the posting/publication period, and schedule your ceremony within the license validity—you’ll dramatically reduce stress and last-minute surprises.
CTA: Want an even smoother wedding prep flow? [Internal link: Philippine wedding checklist by month] and [Internal link: Venue + supplier booking timeline for Filipino weddings] can help you synchronize your entire plan with your license timeline.